What’s included:
- 1x assembled empty box
- 1x overbox
- 1x base box
- 4x clips
- 4x corner boards
- 1x top protective insert
- 1x bottom protective insert
- 1x white cloth sheet
- 1x white foam sheet
- 1x bag
- 2x blue bucket bumpers (for your bucket)
What’s not:
- 1x trash bag
- Packing tape
Instructions
- Unpair your old bin: open the Mill app and navigate to Menu
→ Device and tap “Remove your bin.” Unplug from the wall then the back of the bin.
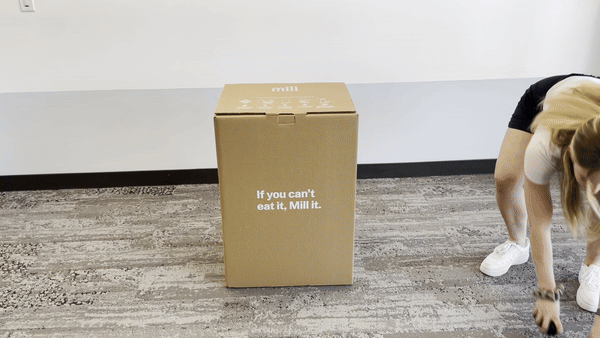
- Open the top of the box and remove contents.
- The box is two pieces clipped together with 4x clips. Please separate the outer box from the base by unlatching and removing the 4 clips (set them aside for later), then pull the top box off of the base.
- Remove the bag, non-abrasive sheet, bucket isolators, and foam sheet and set them aside for later.
- Unplug your bin from the wall first. Then remove the cord from the bin.
- Remove the metal carbon filter from the bin. Do not send this part back.
- Keep it for a while. Even when not installed in the bin, the charcoal will continue to soak up odors for several months. Set it near a trash can or litter box to reduce smells.
- Use it for a science experiment or craft project. Grow a crystal forest, see how charcoal can purify water, or use it as a flower pot.
-
Dispose of it — Remove the metal cartridge from the rear drawer. Using a flat head screw drive, pry off the lid of the container (like a paint can). Compost the charcoal and recycle the tin.
- Toss the power cord into the back of the bin where the carbon filter was.
- Remove the bucket from the bin.
- Empty all Food Grounds from your bucket by pouring them into a Food Grounds return box or into your compost. Please do not send your Mill back with any Food Grounds in the bucket.
- Place the bucket into a trash bag.
- Slot one spacer onto each curved side at the lip of the bucket and lift the bucket placing it back into the bin.
- The spacers help suspend the bucket to keep it from damaging the bin during transit.
- The lid should be able to close completely. If the lid does not close completely, you may need to rotate the impeller paddles in the bucket until the bucket sits properly.
- Use packing or masking tape to tape the bin shut. Do not use duct-tape.
- Put the sheet back down, centered over the base tray of the box. Note which direction the pedal faces in the base tray (there is a pedal shaped side). Lift the bin by the back handles and place it into the base. If done correctly, the bin will sit flat.
- Place the plastic bag over the top of the bin.
- Place the top protective insert over the top of the bin and close the top of the box.
- The profile of the pulp matches the top down profile of the bin
- Fold the wings in and slide over the top of the bin into the box, the curved wings go down either side of the bin.
- The entire pulp tray should be INSIDE of the 4 corner boards
- Push down until it is touching the top of the bin.
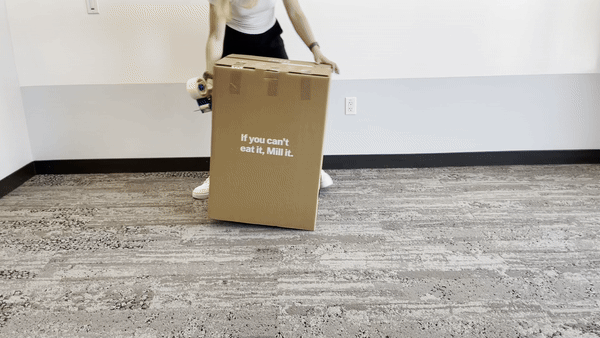
- Bring the top of the box over the top of the bin (direction does not matter) and push down over the base tray until the box touches the floor.
- Insert the 4 rectangular clips on both sides and push in the latches to lock them.
- Tape the top of the box with at least 2 strips of tape. Cartwheel the bin over and tape the bottom of the box similarly.
- Place the FedEx return label OVER the original shipping label on the outside of the box.
- Self-schedule a FedEx pickup here or reach out to Mill Support if you need more assistance with your bin pickup. On the pickup day, you can leave the box outside or in your designated package area for FedEx.